Today we will discuss How to Grow Sprouts in a Sprouting Tray or Box? Microgreens are part of our daily diet. They are healthy and somehow delicious especially if you know how to use them. The majority of these microgreens come as sprouts. I know some of you don’t like the taste but it’s for your health. Sometimes you should consume greens instead of oily fast foods.
Ok, enough… No one likes that blah blah! Coming straight to the point. You want sprouts let grow some and today we will use a sprouting tray or maybe a plastic box. Keep reading and see what to do next!

Check out my previous post: How to Grow Five Spot Flower: Nemophilia Maculata?
What are Sprouts?
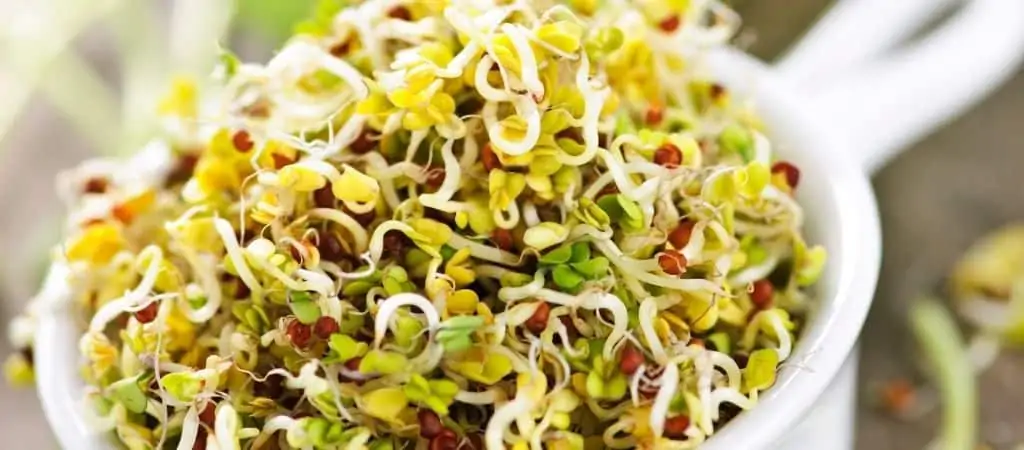
Ok, I know this is a silly question. We all know what sprouts are any germinated seed is a sprout. So It is obvious that we choose only edible seeds for sprouting. Alfalfa, beetroot, broccoli, cabbage, beans, chickpeas, and mung seeds are some of my favorites for sprouting.
They are special food, not only they are green and tasty but they also add a ton of minerals, Vitamins, and fiber to the diet. It is good for both the mind and the body.
Technically you can sprout any seed that you can find but not all of them are healthy to eat. Apple, avocado, pear, mango, gourds, and a few other seeds are not good to eat. You can sprout them but they are either too hard or not so healthy to consume.
Why do we need to grow Sprouts?
Sprouts are the main source of microgreens in our diet. If you wanna stay healthy and be fit then eat well. You can get enough doses of daily vitamins, minerals, and fiber for these sprouts. They are easy to grow and easier to consume.
Another important reason is that you can get sprouts from the grocery store. They don’t sell it at least in our locality, hope you are lucky. Probably the reason behind this is you can store sprouts for long even in freeze. That’s why you have to grow sprouts whenever you need them on the plate.
Although you can keep it in your freeze for 2 -3 days. I like it fresh and green. That is why I grow them in small batches with intervals. This ensures a continuous supply of fresh microgreens and sprouts on my plate throughout the week.
Can you grow Sprouts in a sprouting tray?
Yes, You can grow sprouts in a sprouting tray. It is as simple as it is. The term sprouting tray tells more than obvious about its usages.
So without wasting time, get your container or sprouting tray ready, and let’s grow some sprout.
How much time is needed to grow Sprouts?
It can take anywhere from 4 to 10 days to sprout most edible seeds. Bigger seeds may take a longer duration than smaller ones. The size does matter here!
If you follow every step of sprouting right then it’s just a matter of time. Small seeds like chia or alfalfa and broccoli or onion can sprout in just 5 days. The bigger ones especially all kinds of beans and peas take 7 to 12 days to show signs of sprouting. Although there are a few other factors that can affect the sprouting process and its timing. Keep reading to know more.
Check out: What is 312 Fertilizer and How to use it? Plant Care
Factors that can affect Sprouting Time
There are many factors or reasons that can affect the germination rate of any seed. Sprouting is technically a germination stage. So have a look at the list given below and amend your sprouting setup accordingly.
- Viability of the seed. If the seeds are not good then you can’t sprout them no matter what you do or whatever technique you try. So the first step is always to choose healthy viable seeds to sprout. Don’t try to sprout seeds older than a year or two.
- Size of the seeds. Smaller seeds germinate faster than bigger seeds. They can sprout sooner and you will get the microgreen a couple of days earlier.
- The thickness of seed cover. The seed shell cover can affect the sprouting procedure. Some seeds even the smaller ones have thick rigid cell covers. It can take anywhere from 10 to 12 days for the tiny seedling to just come out of it. Therefore, learn about the seed before sporting, if it is thick and rigid then it will take longer to sprout.
- The moisture level is also very important. Though you provide a lot of water to the sprout they can still get it negatively. Sometimes lack of aeration can also result in slow seed germination. Occasionally drain out the seed and let it aerate once every day. This will solve the problem for sure.
- The temperature decides when a seed will sprout. It is a natural stimulant and every seed has its specific temperature range for sprouting. You can think of keeping it high is good but not always. The excess temperature will degrade the taste of the microgreens. so keep the seed at a temperate range of 60 to 75 degrees Fahrenheit throughout the sprouting period.
- Lighting or sunlight is also very essential for good sprouting. It is said that you can keep sprouting tray in dark for a few days, that’s true. But after that proper lighting is essential for the seedling to break through the hard seed shell.
Which container is good for Sprouting seeds?
Practically any container that can fit the seed with its sprout is good for sprouting. It can be of any shape- round, oval, cylindrical, flat, rectangular, or anything that can hold the seed. There are only two requirements that a container should fulfill if you want to sprout in it. It should have a holding space sufficient to keep the seed in it and a lid or cover to control evaporation and temperature.
there is plenty of household items and containers available in every house that can fulfill this job. Certainly, you can find some on your own. There is no need to buy an expensive sprouting tray. Though it can be very helpful for sprouting. I have a couple of those, and I like them.
You can use-
- Glass jars, or jam bottles
- Plastic deli container or any food box.
- Milk cartons
- Bowls and strainers also do the job pretty well.
- You can also grow sprouts in eggshells, coconut shells, cups, old toolboxes, and even in bathtubs. Yeah, That’s Right, you finally got it!
Also read: Everything To Know About NPK Fertilizers
How to Grow Sprouts in Containers?
Start with cleaning the container. This is the first important task and a pretty boring one. Cleaning is essential as you are gonna it those sprouts, isn’t it great to avoid disease? I know it is necessary, therefore get up and clean the containers first.
Next, make a drainage hole in it if possible. Deli food boxes or any plastic container are easy to punch hole but solid steel or glass are not so. Don’t try to make holes in glass or steel containers else you will have to face the wrath of your partner. The reward with this brilliance will hurt, trust me I know it VERY WELL!
Once you are ready with your sprouting container then go get some seeds. If this is your first time sprouting then choose something easy like alfalfa or onion, or maybe mung to sprout. Don’t start with bigger seeds, they will take longer and you will lose patience before they sprout.
Instructions to Grow Sprouts in Sprouting Tray
1. Rinse The Seeds
Store-bought seeds may contain chemical pesticides. You must clean them thoroughly to get rid of these chemicals. They are harmful to consume. So Clean, wash, and rinse the seeds a couple of times before soaking and sprouting.
Sometimes you make find first or rotten seeds in the group. This is the right time to remove unwanted materials, especially the non-seed sites from the seeds. Also, remove broken or hollow seeds, that are not good to sprout. Hollow or rotten seeds usually float over the water. They are easy to identify and remove.
Removing damaged seeds among small seed groups like chia or onion is very difficult. Therefore try your best to clean them and then soak them for sprouting.
2. Soak The Clean Seeds
Soak the washed seeds in plain drinking water for 8 to 10 hours. Most seeds will double their size during this time. The inflammation in size suggests successful soaking. Although size and hardiness matter a lot for soaking seeds. Some seeds mostly bigger ones like Kidney beans may take 24 hours to soak properly.
You must wash and rinse the seeds twice every day if they take more than 24 hours to soak. Soaking helps in reducing foul odor.
3. Drain and Aerate the Seeds
Thoroughly drain the soaked seed after 8 to 10 hours. You use a piece of cloth or kitchen Strainer for this purpose. A tea strainer works exceptionally well for draining tiny seeds. Keep in mind the soaked seeds should be bigger than the holes in the strainer. Otherwise, you will lose everything in the drains.
A piece of cloth is a cheap and effective tool for this job. It can help in slow draining the seeds. This will force the seed to sprout faster than usual. It also allows proper airflow around the seed which eventually helps with sprouting.
4. Put the Soaked seed in the Container
Now place these seeds evenly on the plastic container. Spray and rinse these seeds with drinking water. This will rehydrate the seeds and keep them clean. The soaked seed may smell bad if you don’t wash or rinse it thoroughly.
Put a lid or cloth on the container head and cover it thoroughly. It is essential for the protection of seeds from fungal spores. This covering also helps in maintaining proper temperature and moisture around the seeds. It is like hanging inside a greenhouse, the seeds love this microclimate.
5. Rinse and Clean the seeds Again
Regular rinsing and washing of seeds are very important as it keeps the seeds clean and odorless. You have to wash and rinse these seeds at least twice every day until it is ready to eat.
Temperature plays a crucial role in this washing schedule. If the temperature is higher than 70 degrees then you may have to do it more than twice every day. Else cleaning and rinsing the seeds only once in a day or two is sufficient.
6. Maintain Proper Temperature and Lighting
You have to maintain a proper temperature above 55 degrees if you want good sprouting in the seeds. In colder regions use a heating mat as I do during winter. Otherwise, place the sprouting tray or container near a window where it can get enough sunlight.
4 to 6 hours of partial sunlight will help the seed to germinate and sprout. If sunlight is not possible then put it near a fluorescent bulb. Sometimes you can put near kitchen selves. Here the temperature is always high than other corners in the house.
No matter how impatient you are, never put the sprouting tray or container with seeds near the fireplace. It will cook the seeds instead of sprouting. The heat from the fireplace is too much for delicate seeds and their seedlings.
7. A Final rinse and Then Harvest your Sprouts
At last clean and rinse the sprouts for the final time. Then take them out of the sprouting tray and they are ready to eat. Sprouts are not good for storage, they are very fragile and can last only for a couple of days in the fridge.
If you want to store extra sprouts. Then Clean and drain it properly and place it inside an airtight zip lock. Put it in the crisper or the vegetable self in the fridge. It will last for 3 to 4 days without a foul smell in the storage.
If you want a continuous supply of microgreen and sprouts then grow them in batches. Maintain a proper start time gap among these batches and get a continuous supply of sprouts.
How to Grow Coreopsis: Tickseed Flowers?
Final Words
It is very easy to grow sprouts in a sprouting tray or container. It just takes some time and a little bit of experience. I hope you have everything you need to grow your favorite sprouts. They are healthy and tasty. You can mix sprouts in salads or use them as dressing on a taco or chips. Eat sprouts every day and stay healthy.
Keep reading Keep gardening!