Marigold or common Tagetes is a beautiful flower family. I am sure all of us are familiar with the variety of flowers, the diversity of colors, shape, and sizes of marigold. In fact, many of you may have grown a marigold in your garden. These are very easy to grow flower plants. The marigolds are Perineal or Annual flowers. You can grow them throughout the year, but the best time is always the transition between winters to summer. This is probably the time from mid-November to January for seed germination and July to September for growing marigold from cuttings.
Today we will discuss all the facts required to grow marigolds from fresh cuttings. We will decide what to do, how to do and when to do? Know the tools required for this process and the best way to cut, grow and propagate the marigold plants. Keep reading.
Can we grow marigolds from cutting?
Yes, we can grow new marigold plants directly from its cuttings. In fact, plants grown from cuttings are healthier than the seedlings. The commercial benefit of growing marigold for cutting is the prime reason for the implementation of this method.
Actually, we can grow true identical plants from an existing one by its cuttings. The process of cutting is faster and effective and cost-efficient for both commercial and personal use. We can make 1000s of cuttings from any desired marigold plant without even harming it.
Another benefit of growing cuttings is with the bloom time. Plants grown from cuttings bloom faster than those grown from seedlings. In fact, these plants need 30 % less time to bloom. You can even make new plants from cuttings during the blooming season, this is another advantage over seedlings. When do marigolds bloom-Time and Temperature? -Check this article for more details on Marigold Bloom.
Best time to grow marigold cuttings
Marigold can be grown in two different ways, first is with seeds obtained from dried flowers and second is from cuttings.
The germination of the marigold seed is best suited for early summer when the temperature is below 25 degree Celsius i.e., from mid- November to January end.
The marigold is recommended to be cut after monsoon for fresh growth. Actually, the rainy season is good for making cuttings of any plants. So if you have any marigold plant left from last season then you can make fresh cutting during the rainy season. In Asia and the Americas, it is generally the month of July to September end – The monsoon Season. You can make new cutting and grow these into mature marigold plants. The rooting is naturally faster in monsoon than any other season. So you need not do anything extra for successful rooting of marigold cuttings.
Rooting marigold cuttings in water
Before starting with the steps let me ask you something- Can we grow marigold cuttings in the water?
The answer is a big Yes. Yes, we can grow marigold cuttings in water. Though it is not very necessary as it is easy to grow marigold cuttings in the soil itself, you can make successful cuttings only in water. Believe me, I have done it many a time. So the question rises- how to grow marigold cutting in the water? Follow the steps and keep reading carefully for a complete guide.
Preparation for rooting marigold in water.
- Step1: As we all know that we can grow marigold cuttings in water, so first we need to decide which water is best for this purpose. I have grown cutting successfully in both tap water and mineral water. In my experience, both plain water and mineral water is good only if you keep changing it within 48-60 hrs.
- Step2: Use clean glass, beaker or bottle. The Container should be clean for this purpose as any contamination can cause fungal growth in the cuttings. Another benefit of a clean transparent container is to observe the root growth easily.
- Step3: Always use clean and healthy cuttings for growing new plants. Any green marigold stem can be grown into a new plant by this method but healthy cutting means healthy plant. So always be careful.
Rooting marigold in sand and soil
Sand and soil are the best natural medium for growing Marigold plants. It is always recommended to make new cutting in clean sand and soil mixture. In fact, commercial farmers use a mixture of sand, soil, and compost for rooting marigold cuttings. How to deadhead marigolds in summer and winter?
Preparation of rooting marigold in sand and Soil.
- Step1: Mix sand, garden soil and organic compost in equal proportion for rooting marigold. The proportion should be 30%-30%-30%, you can add an additional 10% perlite in the mixture. The use of perlite is optional. You can use coco peat instead of perlite.
- Step2: Use Earthen clay pot or tray if possible. The container should be at least 2-4 inch deep with even holes in the bottom for proper drainage. If possible use flat tray for this purpose and sterile it first.
- Step3: Fill the container with the rooting mix. Water the mixture properly. It is recommended to use any fungicide with the water to avoid fungal growth.
Can we grow marigold cutting without rooting hormone
The use of rooting hormone is always beneficial for commercial plantation. So if you ask me, then I would also recommend you to use good quality rooting powder for growing any cuttings.
If you are a hobby gardener or you have a small terrace garden or you don’t want to spend extra money on rooting hormone then you need not worry. You can grow marigold cuttings without using any rooting aid. In fact, you can grow it directly in the soil or in your pots.
Sometimes you can use some kitchen products as an effective rooting hormone. I have tried many with successful results. I would recommend you to use any of the following instead of commercial rooting hormone: – Cinnamon, Honey, Aloe Vera or clove. Though all these are natural products it will do the job, you can expect more than 60 % success rate with these kitchen items.
How to propagate marigold from cuttings
I have already explained the preparation methods for successful rooting in marigolds. Now the first and the most important job you need to learn and execute carefully is the selection and cutting of healthy marigold stem for growing.
Steps for selecting Healthy Marigold Stems for Growing
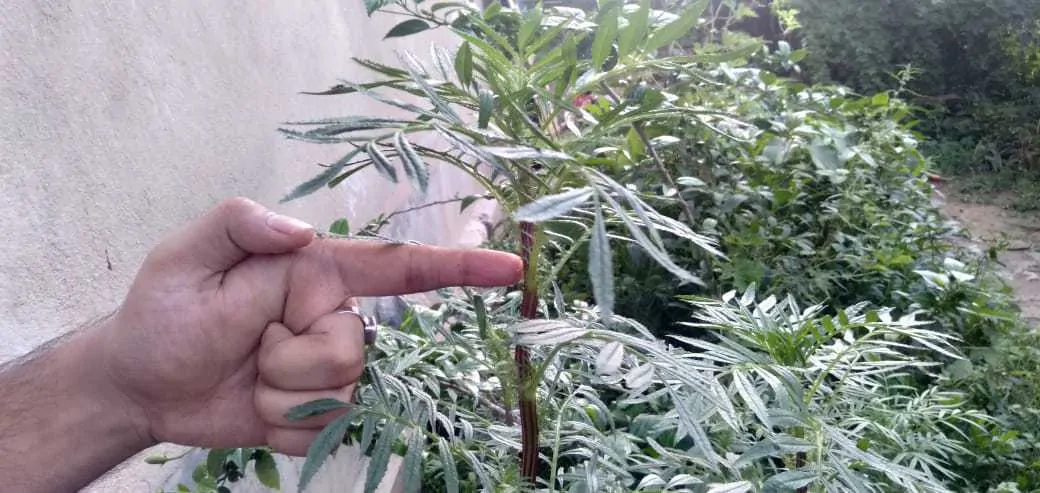
- Step1: Look for the green Stems, choose the greener one for best growth.
- Step2: Avoid Stems with Any leaf curl. Leaf curl is a strong indication of fungal attack in marigold. Stems with bigger broader and greener leaves are always better for growing.
- Step3: Select the stems that have at least a few more branches to support plant growth. Cutting a single stem plant for re-growing is not very recommended. It will not harm the plant in case of marigold.
- Step4: If you find any significant brown patch in the parent marigold plant then it is advisable not to take a cutting from such plant. The brown patch shows extensive bacterial and fungal growth, so avoid using this plant. Cuttings from these plants are more likely to be affected by fungal attack.
Steps for Cutting marigold Stems for Growing
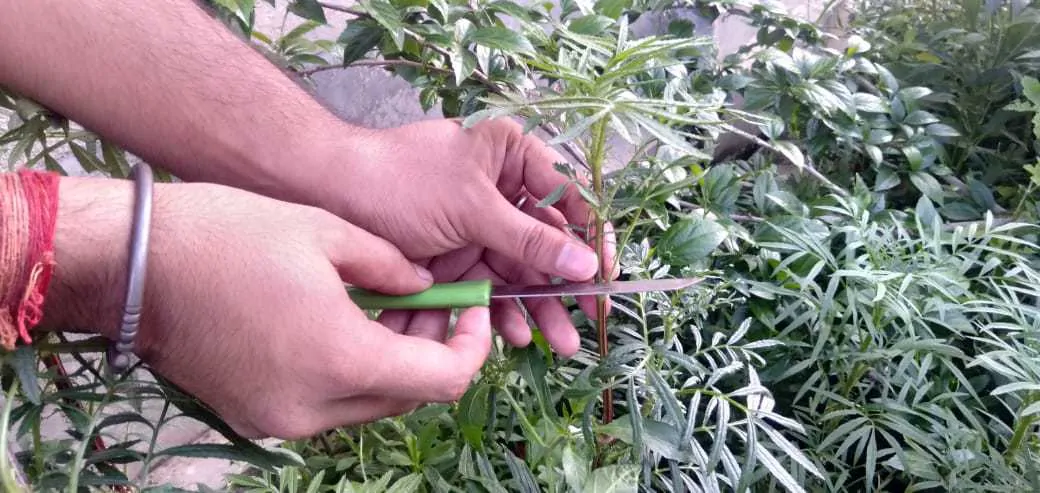
- Step1: You can use both Scissors and knife for cutting stems that you have selected earlier. I personally recommend using a sharp knife or new blade for this purpose. Sometimes a pair of scissors is ineffective for this purpose.
- Step2: Always clean the tools before starting. You can use hydrogen peroxide if you have. Instead, you should use any disinfectant available in your home, anything from aftershave lotion to kitchen disinfectant cleaner would work perfectly. Just wash the knife with clean water otherwise.
- Step3: Cut stems of at least 4-inch size i.e. 10 cm minimum. Make a sharp cut just below the leaves, not above it. The Leaf node will act as a perfect spot for root growth.
- Step4: marigold is a soft stem plant, so cutting it is not a very hard task. The only recommendation I would like to add is- you should make a slant or inclined cut instead of flat cut for faster root growth. It is my personal experience stems with a slant or angled cut develops root faster than other stems.
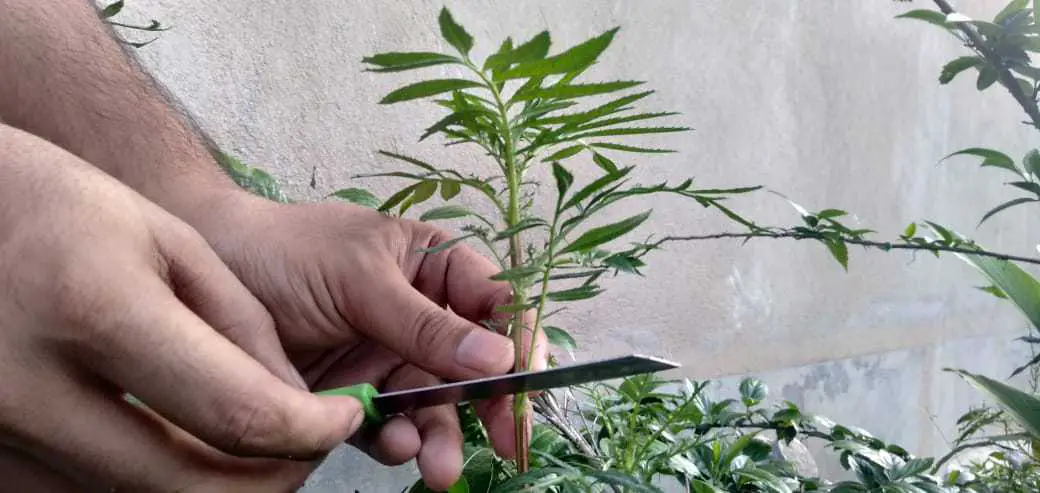
- Step5: After cutting the marigold stems place them in a bowl of fresh water. It will protect the stems from drying before you place these in the rooting mix.
How to grow marigold from cuttings
Growing a new marigold plant from cutting would be an easy job if you have followed all the details written above this section. Also, read: – How to harvest marigold seeds for next season?
Up to now, we have discussed all the necessary steps required for preparing the rooting medium and selecting and cutting the healthier stem. Next, we will read the step to grow marigold cuttings both in water and sand soil mix.
STEPS to grow marigold from cutting in water
Hope you are prepared for this step, if not then please read the procedure discussed above again or ask anything in the comment section.
- Step1: You can use rooting hormone for this step if you want, not necessary- works well in plain water. Place 4 – 5 stems of equal size in transparent glass.
- Step2: Fill the glass with water. Only 2-inch water is required. Actually, try to place only 2 -3-inch stem inside the water. Don’t drown the complete plant.
- Step3: Remove extra leaves. It will increase the transpiration and the stem can dry faster. So leave only a few top leaves in the stems.
- Step4: Carefully change the water every 2 days. It is a very important and necessary step. If you miss this step, then the stem can rot in dirty water.
- Step5: Repeat this step for the next 10-12 days and you will see healthy root growth in the cuttings.
- Step6: Once you see root growth place the cutting in an appropriate medium where you want to grow the plant. That’s it you only have to do these 6 steps carefully to get 100s of new marigold cuttings grown in water only.
STEPS to grow marigold from cutting in sand and soil
Similar to the above procedure, be ready for the upcoming steps. If not sure, then go back and read again thoroughly.
- Step1: Again you can use rooting hormone if you want, or you can follow the steps without rooting powder. If you have some rooting powder then take it out and dip the fresh stems in the powder. Make sure at least 1 inch of the lower portion is covered with rooting hormone completely.
- Step2: After watering the rooting mix, leave it for a few minutes for draining completely. Note: The mixture should be drained out completely, it should not be soggy or too wet.
- Step3: Make some holes in the mixture with a stick. The holes should be at least 2 inches deep. You can also use a used pen for this purpose- I personally like that.
- Step4: Place the stems in the holes and press the mixture gently to hold the stems carefully. Make sure no stems are loose enough to fall down on its own. It should stand firm. Tap the container from all sides carefully to settle down the sand and soil.
- Step5: Water the cuttings again. And leave it in the semi-shaded region. Make sure no direct sunlight or rain can damage the cuttings. The place should be well ventilated and full of light.
- Step6: Water the cutting regularly and never let the mixture dry. If the temperature is high the water twice a day- if necessary.
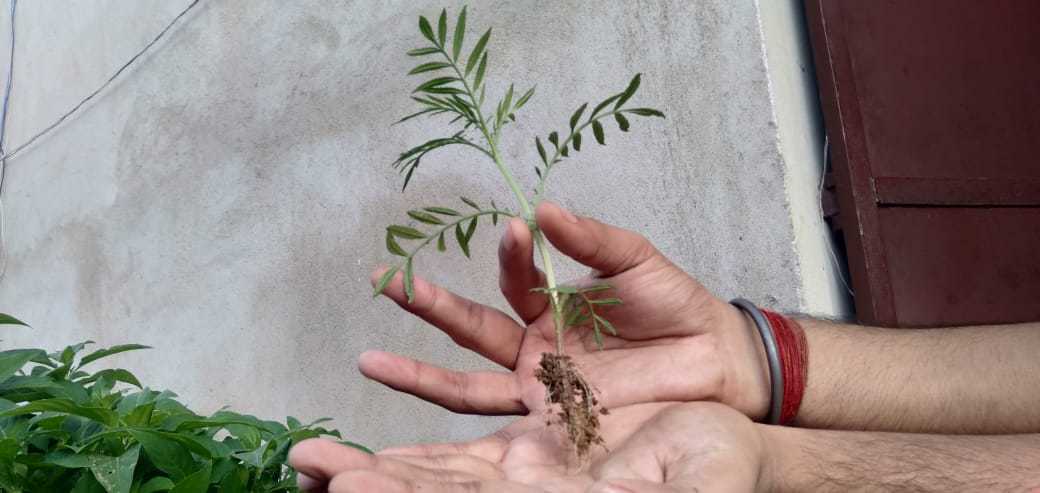
- Step7: Follow these steps carefully for 10-12 days. After 12 or 15 days take out the cutting carefully from the mixture. You can water before this step. In fact, watering will make this work easier. You will notice lots of roots grown in the lower part of the stem.
- Step8: Pot the new plant in an appropriate soil mix and grow as much marigold as you want.
Special tips for growing marigold from cuttings
: – Follow these steps in mid- monsoon for best result. Keep the environment moist if you want to grow it indoors. Make a similar potting mix with 30%-30%-30%-10% proportion for plant marigolds in garden or pots.
I am working on developing Marigold cuttings in trays in a vertical planter.
I have realised that only healthy cuttings give healthy plants.
I used moist mixture if ckay and compost.
I am using 7×3 hole trays. After many trials I am now using 4 cuttings per hole.
I see that nearly 80 percent of the cuttings will not survive.
I am now thinking that I should use water as the growing medium.
I am reading and re-reading your article to find what is mussing in my approach.
Water as a growing medium may be fool proof.
Dr. Zahir Fikri, Lahire.
Hi, Dr. Zahir
Your procedure seems to be alright until I found a common mistake. You tried it with clay which may have led to rot due to fungal attack.
Don’t worry it’s no big problem. Just try using 30% sand with the soil-compost mix or dry fry the same mix before using. Control water, don’t overwater. Spacing is alright, it will work for sure. Remember Marigold cuttings love moisture but roots should always be dried naturally. Waterlogging or soggy soil is not good for this purpose. Hope this helps.