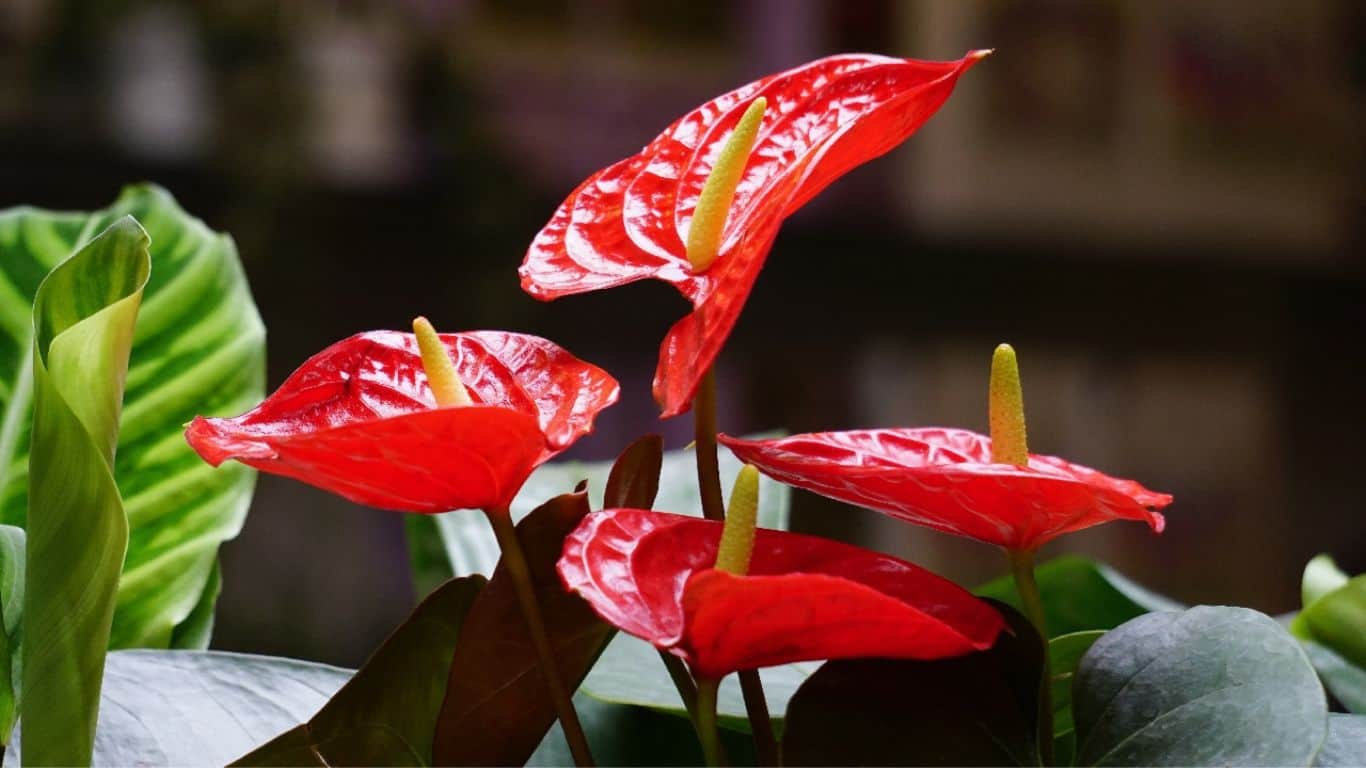
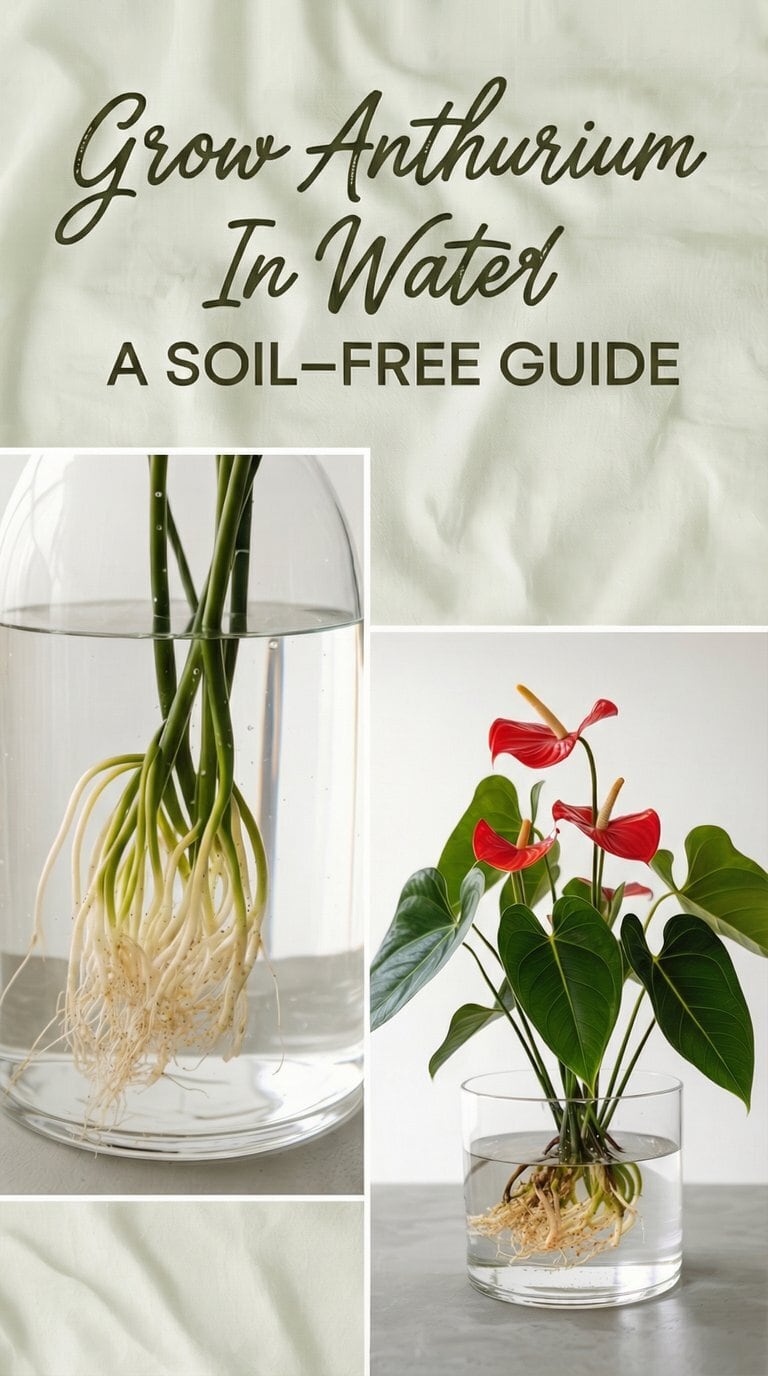
Anthuriums, with their glossy, heart-shaped leaves and striking, waxy flowers, are a cornerstone of modern indoor plant collections. Traditionally, these tropical beauties thrive in airy, well-draining potting mixes. Most gardeners are familiar with propagating them through stem cuttings or division in soil. But a fascinating question arises for the curious plant enthusiast: can you Grow Anthurium in Water?
The answer is a definitive yes, but with crucial caveats. This method, while visually stunning and educational, is more of a botanical experiment than a best practice for long-term, thriving plant health.
This comprehensive guide will walk you through every step, benefit, and significant challenge of learning how to Grow Anthurium in Water.
Read More: How to Grow Anthuriums from Seed?
Understanding the “Why”: The Science Behind Water Propagation
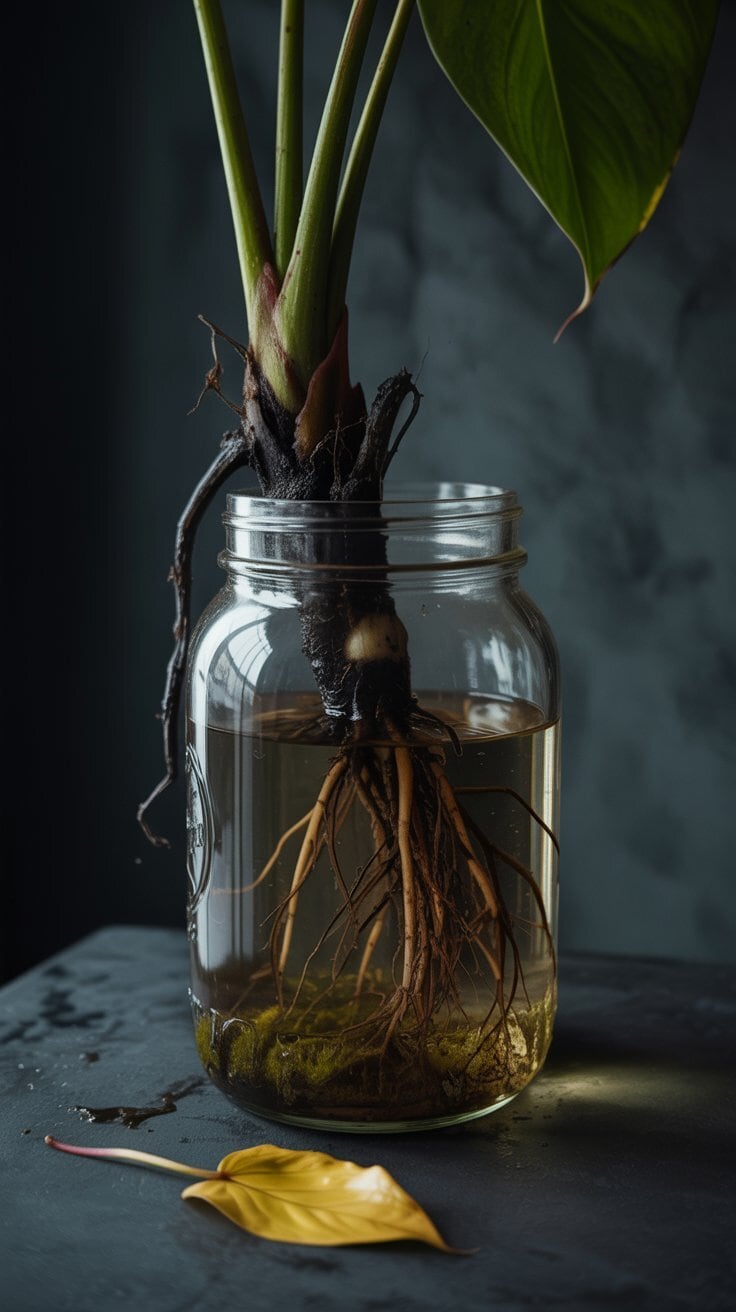
To successfully Grow Anthurium in Water, it helps to understand the plant’s natural biology. Anthuriums are epiphytic or semi-epiphytic in their native tropical habitats, often growing on tree branches rather than in the ground. They have evolved to develop aerial root nodes along their stems.
These nodes are primordial root hubs, ready to sprout when they detect consistent moisture and humidity. In the wild, these aerial roots serve dual purposes: anchoring the plant to its support and absorbing moisture and dissolved nutrients from the humid air and decomposing leaf litter around them.
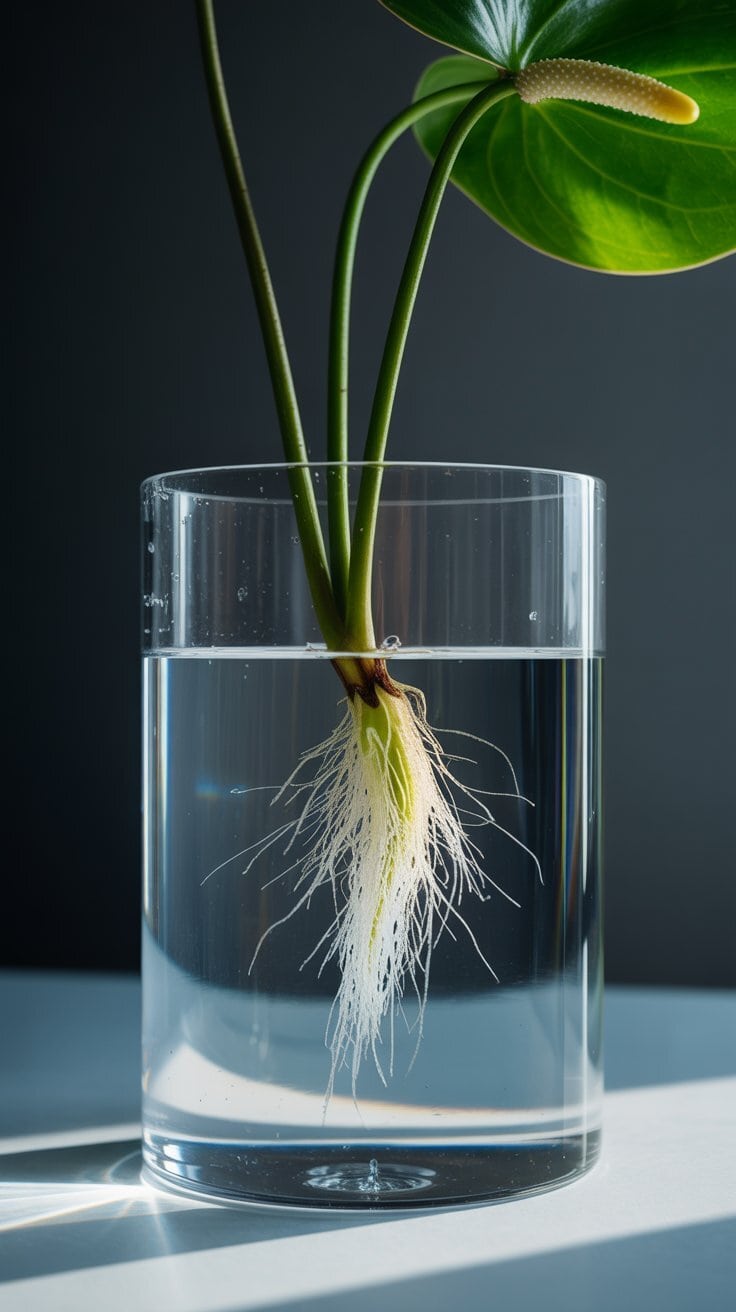
When we place a stem cutting with a node in water, we are essentially tricking this evolutionary adaptation. The node detects the abundant moisture and stimulates the growth of water roots, or hydric roots.
These roots differ structurally from soil roots; they are often more fragile, with thinner root hairs adapted to absorb oxygen and nutrients directly from the water column. This fundamental difference is the core reason why the journey to Grow Anthurium in Water long-term is fraught with difficulty.
Also Read: How to Grow Anthuriums from Seed?
What You Will Need: Gathering Your Supplies
Before you begin your project to Grow Anthurium in Water, gather these simple supplies:
A Healthy Parent Plant: Select a vigorous Anthurium with no signs of pests or disease. Healthy parentage is the first key to success.
Stem Cutting Tool: Use sharp, sterilized pruning shears or a knife. A clean cut prevents crushing the stem and reduces infection risk.
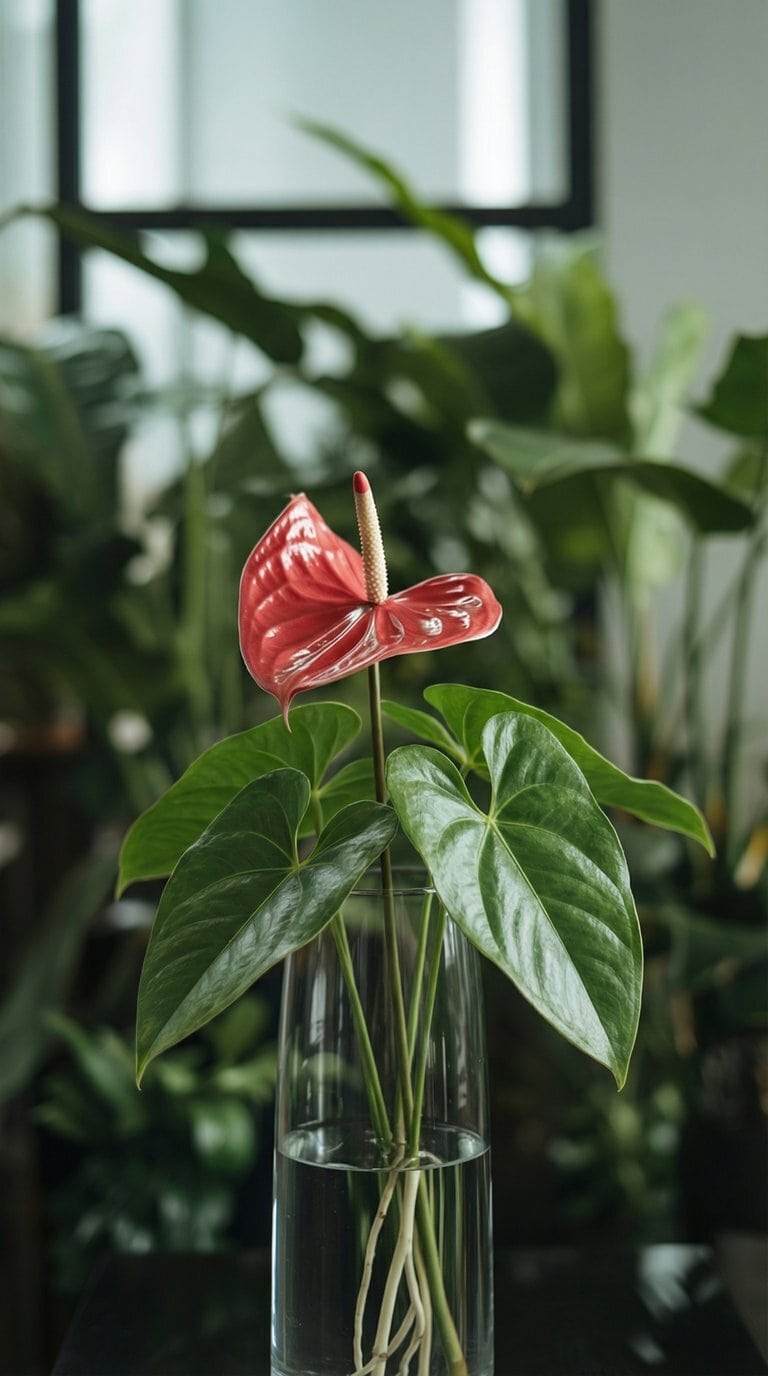
The Right Vessel: A clear glass jar, vase, or container is ideal. Transparency allows you to monitor root growth and water clarity. Mason jars, pasta sauce jars, or sleek glass vases all work. Ensure the opening can support the cutting without letting it fall in.
Water Quality: This is critical. Avoid hard, heavily chlorinated tap water. Use filtered water, rainwater, or tap water that has been left to sit out for 24-48 hours to allow chlorine to dissipate.
(Optional) Supportive Additives: A drop of liquid seaweed or a very dilute, quarter-strength liquid fertilizer can be added once roots are established (2-3 inches long). Never fertilize a fresh cutting.
Read This: How to Grow Anthurium by Stem Cutting?
The Step-by-Step Process to Grow Anthurium in Water from a Cutting
Follow this detailed process to maximize your chances of success as you Grow Anthurium in Water.
Step 1: Taking the Perfect Cutting
Identify a stem on your parent plant that is at least 4-6 inches long and has 1-2 healthy leaves. Most importantly, it must have at least one visible, knobby aerial root node. Using your sterilized tool, make a clean cut about half an inch below this node. Remove any flowers or buds to direct all energy toward root development.
Step 2: The Pre-Rooting “Callus” (A Pro Tip)
A secret many experts use is to let the cut end dry slightly before placing it in water. Leave the cutting in a dry, shaded place for 1-2 hours. This allows the cut to form a slight callus, which acts as a barrier against rot-causing bacteria when first introduced to water.
Step 3: Jar Preparation and Water Filling
Wash your chosen vessel with hot, soapy water and rinse thoroughly. You can even rinse it with a bit of hydrogen peroxide or isopropyl alcohol for sterilization. Fill the jar so that only the bottom quarter to third will contain water.
Step 4: Positioning the Cutting
This is the most crucial step. Place your Anthurium cutting in the jar. Adjust the water level so that only the root node is submerged. The cut end can be in the water, but the leafy stem and any leaf petioles must remain completely above the waterline.
Submerging any part of the stem or leaves will almost guarantee rot. You can use a narrow-necked jar to hold the stem in place or insert toothpicks criss-crossed over the mouth of a wider jar to suspend the cutting.
Step 5: Ongoing Care and Maintenance
Place your jar in a location with abundant bright, indirect light. Direct sun will heat the water and promote algae growth.
Water Changes: Change the water completely every 3-5 days without fail. This replenishes oxygen and removes any bacterial buildup. When you change the water, gently rinse the roots and the inside of the jar.
Algae Management: Algae will grow. It’s not inherently harmful but competes for resources. Regular water changes, using an opaque container, or simply cleaning the jar walls during water changes will control it.
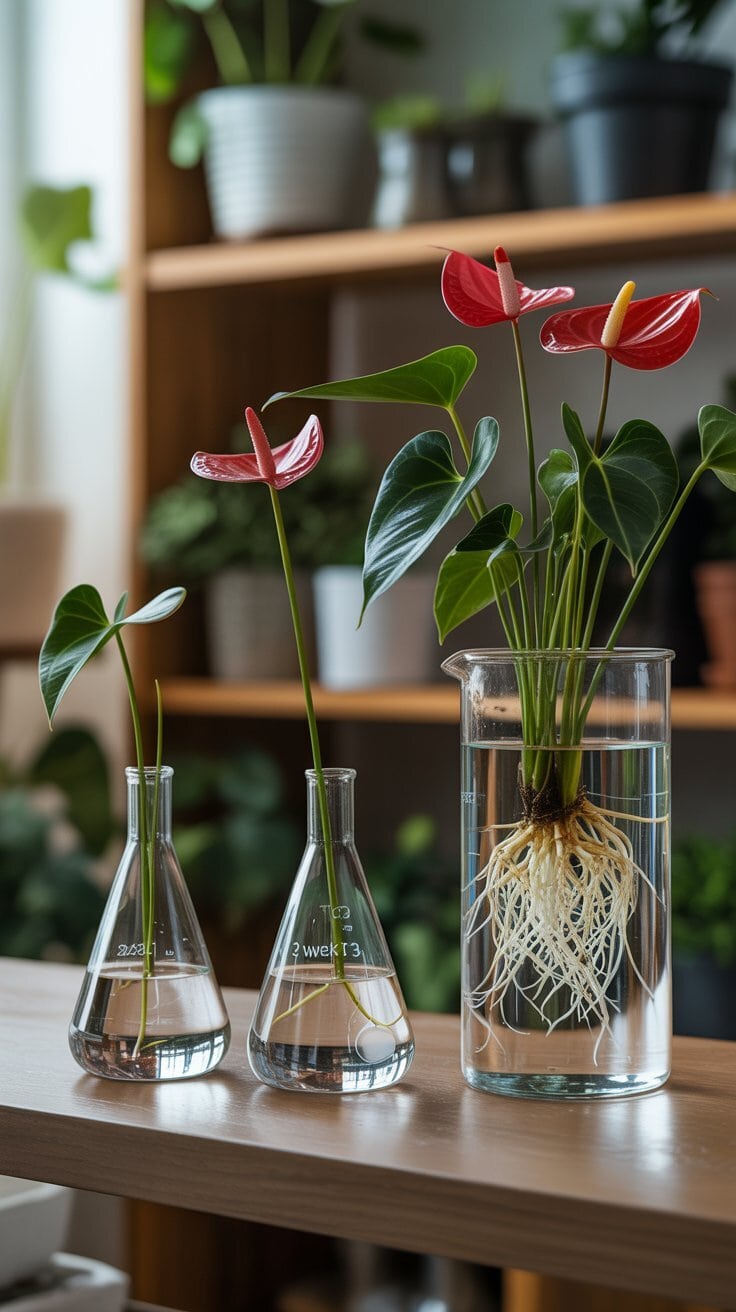
Root Monitoring: In 2-4 weeks, you should see fresh, white roots emerging from the node. As they grow longer, you can gradually lower the water level so that only the tips of the roots are submerged, encouraging them to grow longer seeking water.
The Significant Challenges and Drawbacks of This Method
While the aesthetic of a clear glass jar with elegant roots is undeniable, you must be aware of the substantial hurdles you face when you choose to Grow Anthurium in Water indefinitely.
Nutrient Deficiency: Plain water is devoid of the essential nutrients (nitrogen, phosphorus, potassium, and micronutrients) that soil or fertilizer provides. The plant will survive on stored energy but will eventually become stunted and pale.
The Root Rot Paradox: Despite being in water, the roots still need oxygen. Stagnant water becomes oxygen-depleted, leading to root suffocation and rot—the very problem you’re trying to avoid by not overwatering soil.
Poor Structural Growth: Water provides no anchorage. The plant may become top-heavy and unstable. More critically, without the physical resistance of a medium, root systems often remain underdeveloped.
Unlikely Blooms: Anthuriums require optimal conditions and abundant energy to produce their signature spathe and spadix. A plant merely surviving in water will rarely, if ever, bloom. If it does, the flowers will be small and lackluster.
The “Point of No Return” for Transplanting: This is the biggest challenge. Hydric roots adapt to water and are often shocked and damaged when moved to soil. The transition failure rate is high, as these delicate roots can struggle to adapt to taking up moisture from soil particles.
A Superior Hybrid Method: The LECA/Perlite Solution
If you love the clean look of a soil-free setup but want a healthier plant, a semi-hydroponic system is the superior way to Grow Anthurium in Water. This method uses an inert, porous medium like LECA (Lightweight Expanded Clay Aggregate) or Perlite.

These materials wick water upward to the roots via capillary action while leaving air pockets throughout, providing the perfect balance of moisture and oxygen that Anthurium roots crave. To use this method:
Soak LECA/perlite overnight.
Place a layer in a clear, hole-less container (or one with a water reservoir).
Position your Anthurium cutting or established plant in the medium.
Add a nutrient-enriched water solution to fill only the bottom reservoir (about 1/3 of the pot height). The medium wicks it up, but the plant’s crown remains dry.
Flush the system with fresh water every few weeks to prevent salt buildup.
This approach provides stability, better aeration, and a clearer path to providing balanced liquid fertilizer, making it a much more sustainable and successful way to Grow Anthurium in Water-based systems.
Final Verdict: Should You Grow Anthurium in Water?
So, is it good to Grow Anthurium in Water? The answer depends entirely on your goals.
For Short-Term Rooting & Propagation: Yes, it is excellent. Water propagation is a fantastic, low-cost way to visually monitor root development before eventually potting the cutting into a chunky aroid mix. It’s simple and effective for this phase.
For Long-Term Growth and a Thriving Plant: No, it is not recommended. The challenges of nutrient deficiency, rot, and stunted growth are significant. Your plant will exist, but not thrive.
In conclusion, learning how to Grow Anthurium in Water is a rewarding horticultural experiment that deepens your understanding of plant biology. The sight of delicate roots spiraling in a glass vessel is undeniably captivating. However, for a lush, flowering, vibrant Anthurium that lives for years, a well-draining soil mix or a structured semi-hydroponic system with LECA remains the unequivocal champion. Use the water method as a fascinating starting point, but be prepared to graduate your plant to a more supportive long-term home for its best life.